This guide will show you how to adopt your CodeBug Connect on the CodeBug Connect Website. Once setup, you’ll be able to:
update the system software on your CodeBug Connect
send new programs to your CodeBug Connect from the website
store and log data online from your CodeBug Connect – for example you could record air quality and monitor it remotely from your smartphone
Important
Before following this guide your CodeBug must be able to connect to WiFi. Follow the Set up Wifi guide if you haven’t done already.
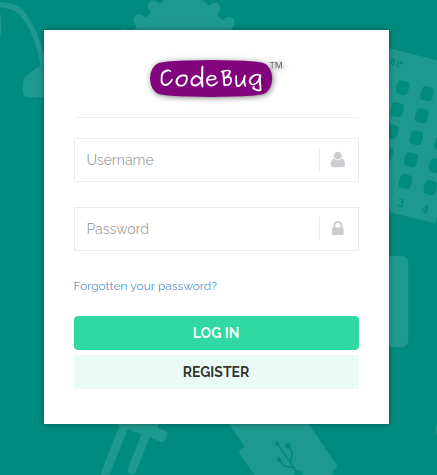
If you have an account, log in to the CodeBug Website. If do not have an account click the Register button. If necessary, ask an adult to Sign up for you.
Either enter your username and password
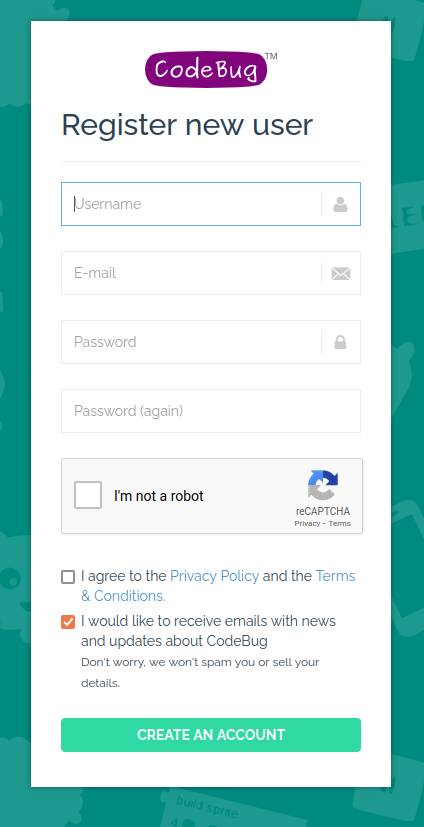
or signup with a valid email address.
From the main menu, choose
CODEBUG CONNECT→MY CODEBUG CONNECTS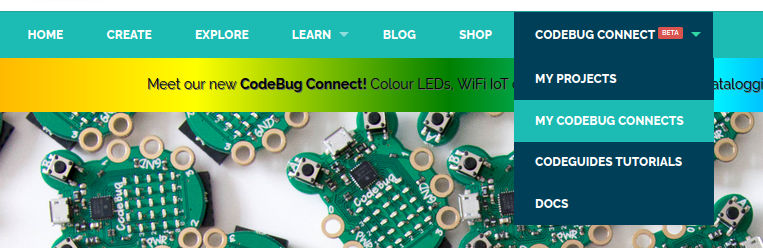
Click
Download Keybutton to download your unique key. Your browser will download a file namedadoption_key.dat– store it somewhere on your computer as you’ll need to copy it onto your CodeBug in a later step.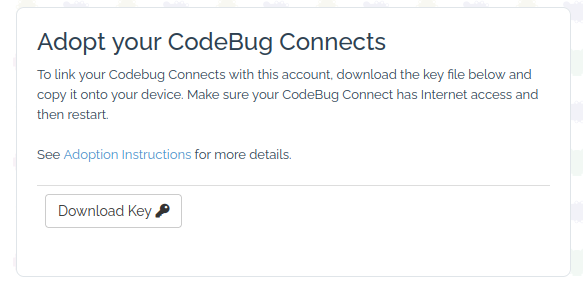
Disconnect CodeBug Connect from all power sources.
Press and hold the centre of Joystick A in while plugging CodeBug Connect into your computer’s USB port. Keep it held until USB scrolls across in yellow.
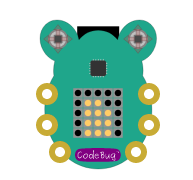
CodeBug Connect will show a yellow file icon when it is ready to receive files.
Copy the downloaded
adoption_key.datfile into the top level directory (not in a sub-folder) of your CodeBug Connect.Eject (or for some operating systems unmount) the CodeBug Connect USB disk. Wait until the end of the next step before unplugging.
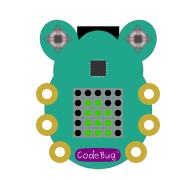
On most computers (though not some Apple Computers) the yellow file icon on CodeBug Connect will turn green, indicating when it’s safe to unplug.
On later updates CodeBug Connect will scroll a message requesting it is unplugged.
As part of the adoption progress you should see your CodeBug Connect appear on the MY CODEBUG CONNECTS when your CodeBug Connect next boots up and connects to the Internet.
Have the
MY CODEBUG CONNECTSpage open in your browser.Reapply power to your CodeBug Connect.
Watch the display of your CodeBug Connect and check it successfully connects to the WiFi.
Wait for your new CodeBug Connect to appear
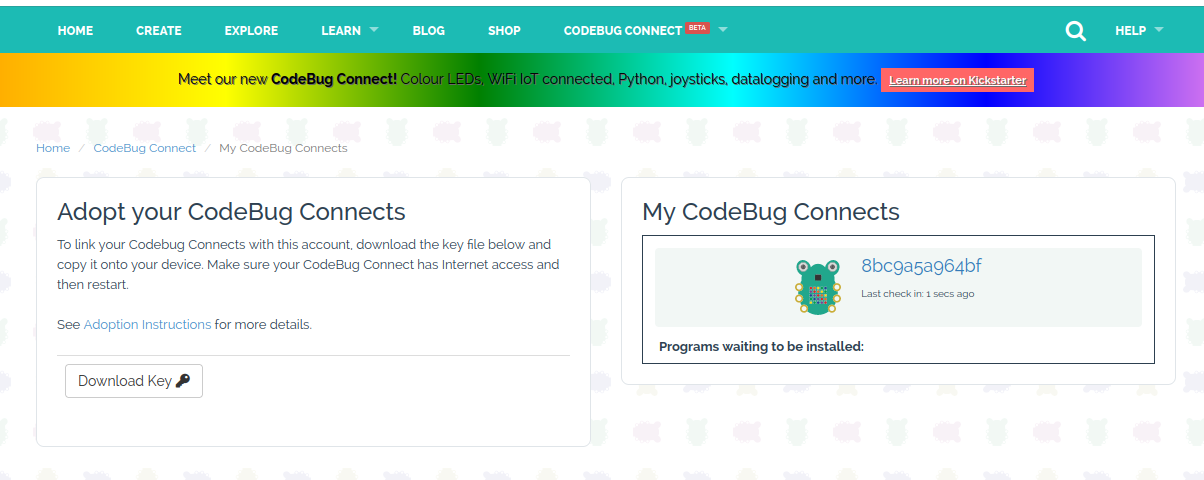
On the
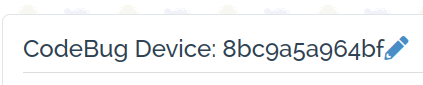
MY CODEBUG CONNECTSclick the newly adopted CodeBug Connect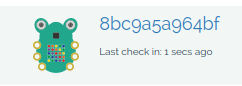
Click the pencil
Enter a friendly name and click
SAVE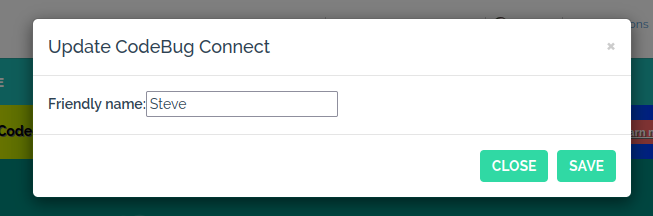
Tip
Write the name you’ve given your CodeBug on a label on the back of your physical bug then it’s easy to identify.
If you’ve not already done so, you’re now ready to create your first program and transfer it to your CodeBug Connect over WiFi.